
Showing posts with label Memory Keeping. Show all posts

Thursday, March 14, 2013

Project Life 2013: Week One

Project Life 2013: Week #1

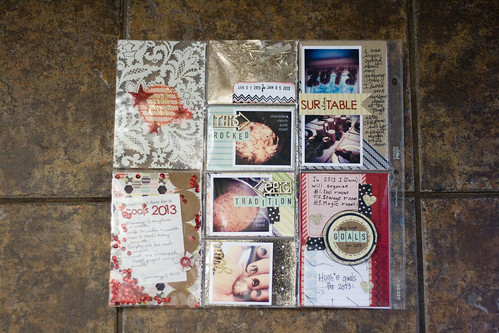
One thing I have found over time is that I prefer one album per year. When I did Project 365 in 2010, I ended up needing two albums to hold 52 weeks worth of pictures (two page spread per week). I'm not a math major, but my brain quickly figured out that by the time I was 50, I would need a library to hold my albums.

The best way I found to combat this was to devote only one page per week. That means when I look at an open spread, I am seeing two weeks at a time. Honestly, this works fine for me. Most of the time I don't have enough stuff happen within a week to fill two pages. On weeks when a lot happens (for example, Hugh's birthday), I can add inserts with more photos.

I used the Simon Says Stamp January 2013 card kit for papers. Like I mentioned in my cover page post, I'm not using a designated PL kit, but instead using up my stash. I like the freedom this affords me. But, if you simply want to show photos and journaling, a kit is the easiest way to go.
Project Life 2013: Week #1

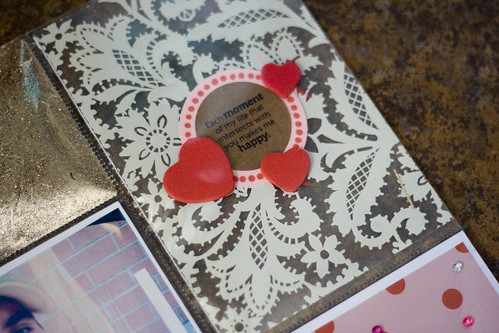
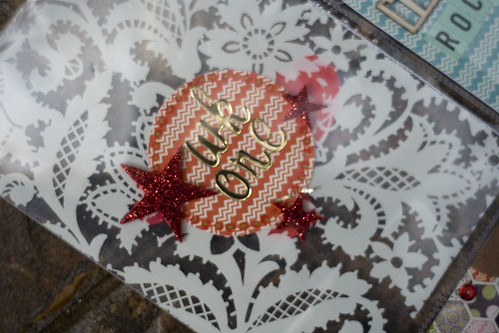
This is the backside of that beautiful lace transparency. I punched a circle out of the paper included in the kit. To cover up the hearts on the other side, I glued down some foam glitter stars from the craft aisle.
Project Life 2013: Week #1

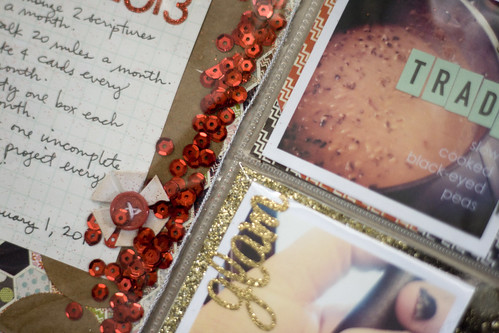
I'm obsessed with sequins and glitter right now, so I created a pocket containing my goals for 2013. To keep the pocket closed (and the glitter and sequins in), I sewed down the side. I ended up sewing down the side of all the pockets because I have trouble with pictures falling out of the sleeves on this particular design.

A few more pics...
Project Life 2013: Week #1

Project Life 2013: Week #1

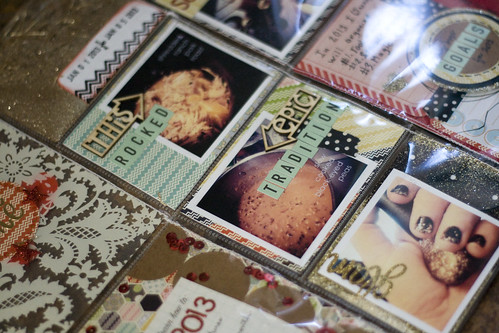
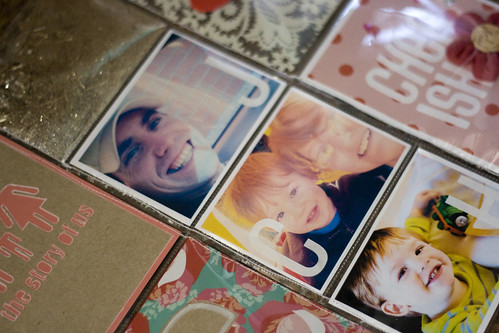
I love the wood veneer shapes from Freckled Fawn. And those October Afternoon alphas? One in every color please.
Project Life 2013: Week #1

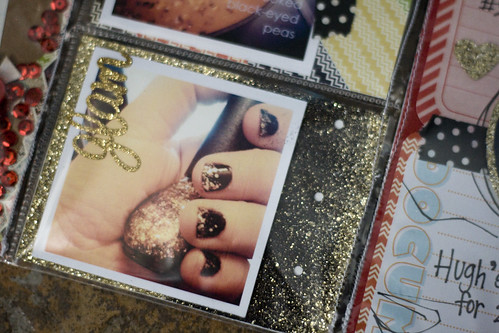
I bought some cute glitter paper lamps that Hugh promptly destroyed. Eh, oh well. So I cut it up and used it in my album! I swiped my black ink pad along a portion of the paper to mimic my New Year's Eve manicure.
Project Life 2013: Week #1

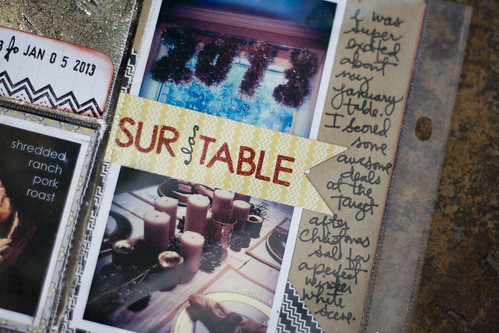
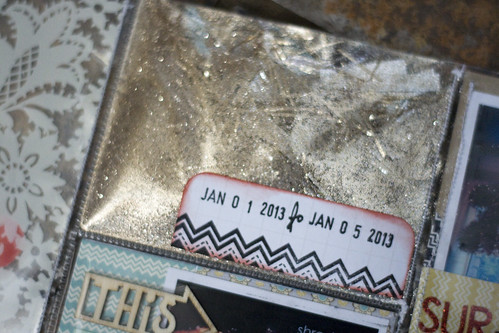
Did I mention my current obsession with glitter? Another pocket to include tinsel from New Year's Eve, plus a mixture of white gold and silver Martha Stewart glitter. And, since I had forgotten my dates on my week card, I glued it on top of the glitter card.

Thanks for looking!


Simon Says Stamp offers a monthly card kit that includes one exclusive stamp set and other goodies. Experienced card makers have carefully chosen each product to coordinate and inspire you on a card making journey.  Each kit includes a wide variety of supplies--enough to keep you creating for hours! You'll also receive an email with 6 project ideas using the items in the kit. All of this right to your doorstep every single month. Find out more here.



Project Life is a solution-based approach to scrapbooking that was created by Becky Higgins to simplify the process in order to allow you more time to enjoy life! 
This back-to-basics approach to scrapbooking appeals to the person who's never made a scrapbook in their life as well as those with experience because it allows you to feel the freedom that comes from letting go of the "guilt" that so many associate with the memory keeping process. Find out more here.

Monday, March 11, 2013

Project Life 2013: Cover Page

I absolutely love Project Life. It has totally revolutionized the way I scrapbook. I used to have stacks and stacks of photos printed, waiting to be scrapbooked. And I felt like a complete failure, like I wasn't getting my story told. Yes, I was guilty of over complicating documenting your story.

Then, along came Becky Higgins and her *little* thing called Project Life. I could get as creative or as simple as I chose. The main idea was telling my story. If you haven't heard of Project Life before, check out this video.

Now, back to this year's album. I've done a great job of staying on task, however I haven't done such a great job of sharing them with you guys. Oops. Sorry about that.

I decided instead of buying a core kit, I would use up my stash. (However, I just might have to get a PL kit because the new kits coming out in May are beautiful!) I found a beautiful lace transparency at Michaels. I also picked up a patterned paper kit in the $1 bin section and was immediately drawn to that gorgeous rose paper.

Project Life 2013: Cover Page

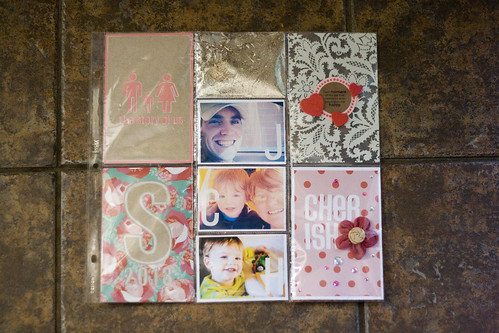
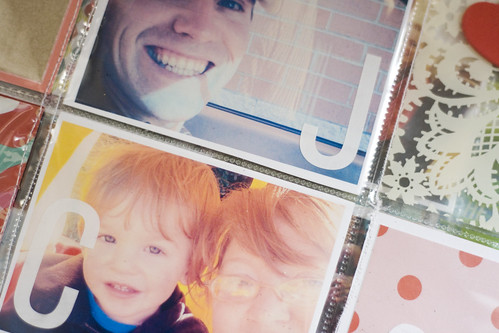
For each family member's initial I used leftover American Craft stickers that were a little too large for most of my projects.

Project Life 2013: Cover Page

I love this stamp from Simon Says Stamp's January card kit. So perfect for an opening page, don't you think?

Project Life 2013: Cover Page

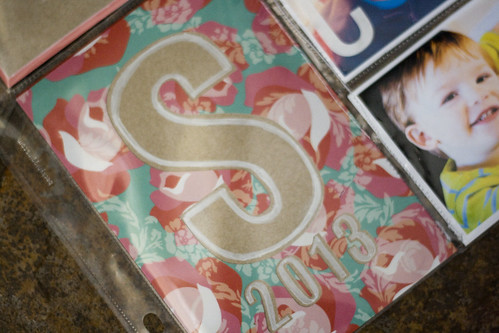
There's that fabulous rose paper that drew my eye. I used my silhouette to cut out the S and 2013 text. I used Impact font and simply typed it into the silhouette software. Nothing fancy. I backed the paper with some kraft paper included in the kit but decided the text didn't stand out enough, so I outlined it with a white paint pen.

Project Life 2013: Cover Page

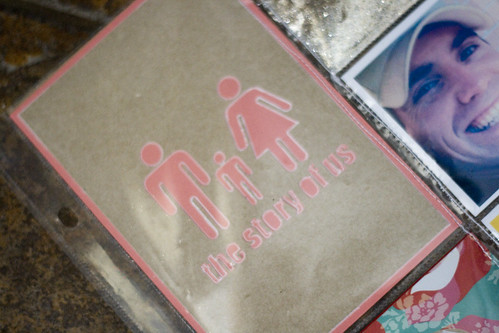
I also wanted to include the bathroom people, so I put one for each of us. That was a file I purchased years ago from the Silhouette store, and I typed "the story of us" and cut it out as well.

Project Life 2013: Cover Page

I love the pictures I used for each of us. I had a hard time finding one I like of just me. I need to get in front of the camera more.

Project Life 2013: Cover Page

I've taken pictures of Week 1-6, and I'll share those soon!


Project Life is a solution-based approach to scrapbooking that was created by Becky Higgins to simplify the process in order to allow you more time to enjoy life! This back-to-basics approach to scrapbooking appeals to the person who's never made a scrapbook in their life as well as those with experience because it allows you to feel the freedom that comes from letting go of the "guilt" that so many associate with the memory keeping process. Find out more here.

Saturday, May 7, 2011

Hugh @ 2 Months

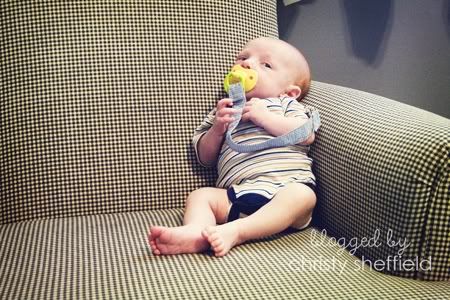
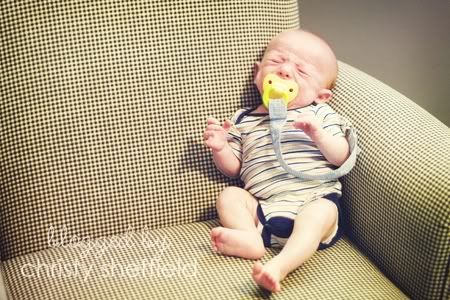
Look who is two months old today!


And, of course, the obligatory crying photo. Maybe next month I will be able to get a photo of Hugh in his chair without him crying. :)


Saturday, September 25, 2010

Baby Bump Update: Week 12

Christy-Vertical

It's kind of hard to tell, but yes there is a tiny baby bump there. As a plus-size gal, people are always looking at you wondering if you really are pregnant. Now I can stick my belly out with no shame! :)

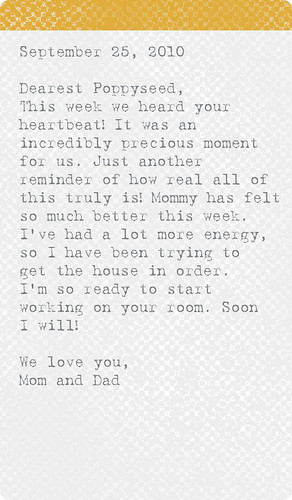
Hubby and I went to the doctor yesterday and listened to our little one's heartbeat. Even at 12 weeks the doctor was able to hear a nice strong heartbeat. Poppyseed's heart was beating at 160 beats/minute. Lots of discussion on whether we think it's a girl or boy. According to the old wives' tale, a heartbeat faster than 140 means it's a girl. Of course, I give no stock to wives' tales because nothing seems to come true with them.

We have one more regular check up, and in November we will have the BIG check up...the ultrasound where we can find out if Poppyseed is a boy or girl. Either way, we love this precious baby! (I'm hoping that my doctor will schedule this visit right before Christmas so I can find out in time for after-Thanksgiving sales!)


2010-09-25

Friday, April 2, 2010

Honeymoon Slippers LO

Wow, it has been a crazy week. Last week I had a booth at the Duds for Doodlebugs consignment sale in Hattiesburg. I sold handmade cards as well as discounted scrapbook supplies. I was clearing out my stash because I have TOO MUCH STUFF and I'm always WANTING NEW STUFF. If you know anything about the scrapbooking industry, products are typically short-lived. With the exception of tools, paints, etc. you can't find a particular patterned paper year after year. Product releases are scheduled around CHA (Craft & Hobby Association) shows which happen twice a year. This means that twice a year manufacturers have NEW stuff. It's a craft hoarders dream/nightmare.

I still have a ton of stuff left and it's still for sale. I'm thinking about listing some of it on etsy and selling the rest at crops. Yes, you heard right. There are scrapbook parties / crops in the works. With both the local independent scrapbook stores closed, the opportunity to get together with fellow scrappers has all but ceased to exist. Well, no more baby! I'm bringing 'em back! Stay tuned for details.

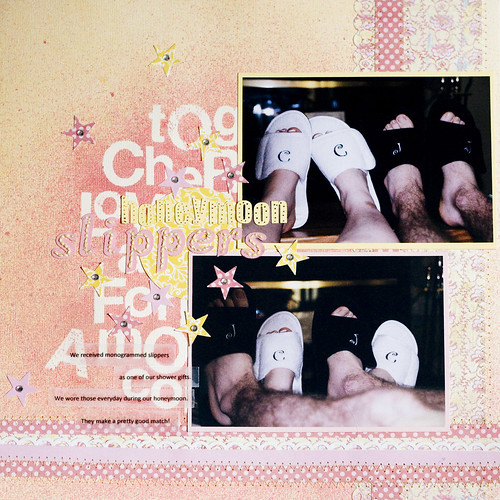
In the meantime, I'm trying to get my house back in order. And, I've been doing a lot of creative play as well. I've been pulling out old photos to scrapbook.

Honeymoon Slippers LO

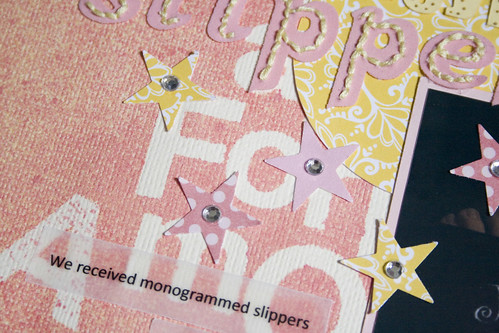
Honeymoon Slippers LO - Close

Supplies:

Tuesday, February 2, 2010

Valentine's Day Tag No. 1

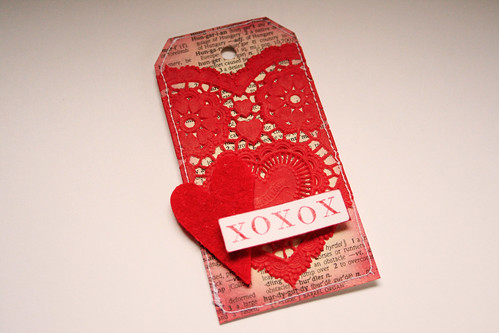
I've been working on some tags for my Etsy shop and thought, why not make some valentine tags that I can showcase each day up through Valentine's Day?

Here's tag number 1:

14 Tags of Valentine, No. 1

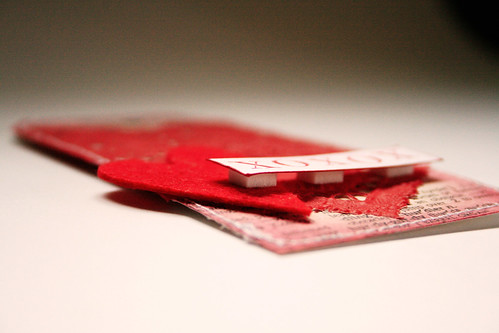
14 Tags of Valentine, No. 1 Detail

For sale here

Edited: I ran out of time to post any more tags before Valentine's Day. Sorry!
SHOP UPDATE: I promise I haven't forgotten that I was supposed to do a shop update yesterday. I've moved the shop update to tomorrow! Sorry for the delay.

Sunday, January 24, 2010

Week in Photos: Jan 10-16

Here's a week in photos from January 10-16:

Ice

Sunday, January 10: It had been so cold the last few nights in Mississippi that Pedro's water bowl froze over and remained frozen all day. Yikes!

Library Books

Monday, January 11: Enjoyed a trip to the library and picked up a few books on costume design, illustration, and Photoshop.

Finished Doilies

Tuesday, January 12: Misted some doilies.

Project Life

Wednesday, January 13: My Project Life kit finally came in!

ShareYourHeart-3

Thursday, January 14: Listed lots of pretty cards on Etsy.

Bird Bath

Friday, January 15: Made a bird bath to hang in one of our trees. It wasn't long before a mockingbird found it and gave himself a nice bath.

Adjusting the Stroller

Saturday, January 16: Went shopping with Amelia, Abigail, and Mimi. We couldn't figure out how to get Abigail's stroller to sit up any higher.

Wednesday, January 13, 2010

Week in Photos: Jan 3-Jan 9

Here's this week in photos:


Me

Sunday, January 3: Got a new haircut, so I needed a new self-portrait.


New Lens


Monday, January 4: My new camera lens, a Canon EF 50 mm f/1.8 II, arrived.


Puppy Dog Eyes


Tuesday, January 5: Pedro's giving me puppy dog eyes. Probably because I won't share my food with him. Well, those eyes don't work on me, buddy. At least most of the time they don't.


Quicken


Wednesday, January 6: Updating Quicken with this week's receipts. BORING.


Nikki And Ryan


Thursday, January 7: Watching the Bama v. Texas game. Nikki and Ryan were for Texas and weren't happy about the outcome. (Jason and I were for Bama. Jason's family is HUGE Bama fans. Something his grandfather always enjoyed.)


Schrute Bucks Notebook


Friday, January 8: I found this notebook at Target and picked it up for Jason, who is a HUGE Office fan. He thought it was hilarious.


Unwrapping-04


Saturday, January 9: Wednesday was my older sister's birthday so we had a little party for her on Saturday. Happy birthday to one of the best sisters ever!

Let's Mist, Baby!

I've been having a lot of fun playing with mists lately. Yes, I realize I'm a little late jumping on the misting bandwagon. I've realized the error of my ways...mist on scrapbook pages and cards is absolutely gorgeous. It adds such an artistic look, like a painting. Misting is great for layering, too.

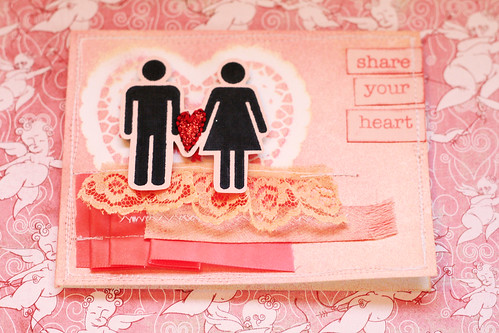
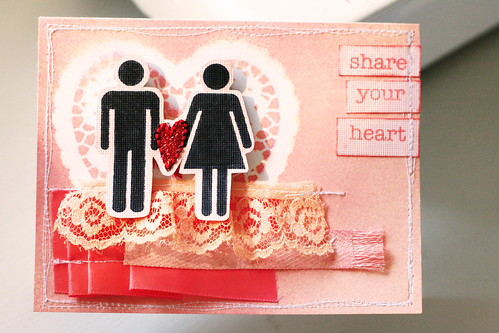
Here's a card I made using some Maya Mists and heart paper doilies.

Christy Sheffield - Share Your Heart Card

Notice the heart behind the couple? I made that using spray mists and a paper doily. I'll show you how.
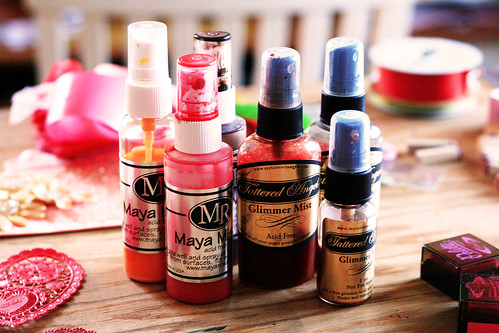
First, you'll need to gather up some spray mists.

Glimmer Mists

Spray mists are a combination of water and ink (usually with a little glimmer to it) that you can spray directly on cardstock, fabric, just about anything. You can also use masks (both pre-made or homemade) to protect part of the cardstock so that it remains the original color. All sorts of things can be used for masks...die cuts, chipboard letters, stickers...the possibilities are endless.

There are several manufacturers of mists. Tattered Angels makes glimmer mists. I find that these tend to take a little longer to dry and achieve a splotchier look. Glimmer mists puddle easier to me. If you want a more splattered look, they work well for that. Glimmer mists also come in a wide array of colors and each has a little bit of "glimmer" or light sheen look to it. Photos do not really capture the beauty of the shimmer, so they are best seen in person.

Maya Road makes maya mists. I find that these create a more even coverage. You can still achieve a splotchy look, but if you want full coverage these are great. They do not have as many colors, but I still enjoy them. I also like the shape of the bottle because it is easier to store. And, the cream mist is to-die-for! Love love love it. It looks orange in the bottle, but it really comes out such a beautiful cream color.

Adirondack also makes a mist spray called a color wash. I have never used these because they are not readily available from the places I shop at the most. I like to save up my money and buy several supplies at once so I can get percentages off or free shipping, so I usually shop at only a couple of online retailers or local stores. I've heard a lot of artists rave over this, plus it is something Tim Holtz uses...so I'm sure it works great. I've heard that the saturation and color is amazing. Again, this isn't a first-hand experience.

For this tutorial I am using Maya Mists in pink and cream.

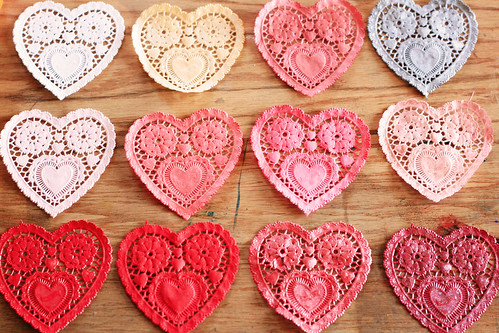
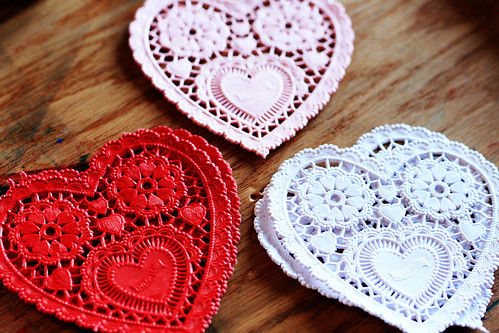
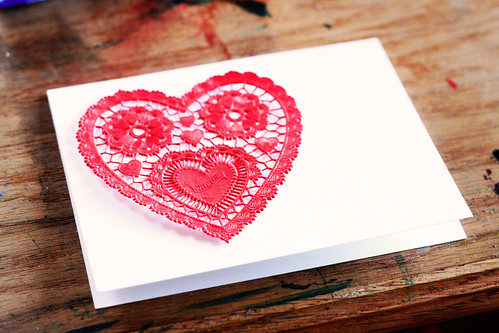
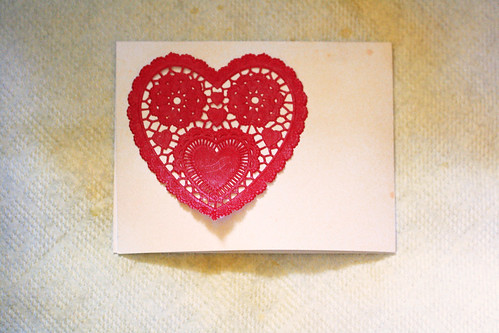
I found some heart paper doilies while perusing the Valentine's section at Wal-Mart. I picked them up for next to nothing. Doilies are a hot trend in scrapbooking right now, and I thought that these would be perfect for some Valentine cards I'm making.


Paper Doilies

I picked up red, pink, and white doilies.
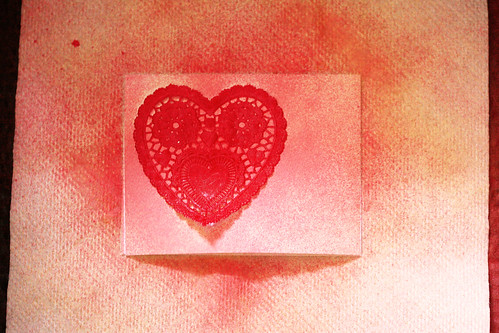
The next step is to place a doily on a card. It doesn't matter the color because the doily will be used as a mask and will be removed later.
You can place the doily on the card, but I like to be sure it won't move around during the misting process. So I add just a touch of adhesive. Repositional adhesive is best for this, but I don't have any so I use permanent. I use it lightly and find that it comes off easily.

Adding Adhesive

Ready To Mist

Before you start going crazy with mist, be forewarned. This stuff will get everywhere. Everywhere. Be sure to protect your surface. Ranger Industries has a great craft mat and Tattered Angels has a larger one. However, I tend to have a lot of stuff out on my work table (and yes, I have ruined already made cards by accidently "misting" them as well) so I've found that using a cardboard box works great. I use one that my Studio Calico kit came in. It's the perfect size because it can fit a 12x12 layout on it.
I also get some of the spray on my hands, so I never mist while wearing nice clothes. I'm usually wearing my painting clothes because if not I will touch my shirt with my hands and ruin it. Yes, I've done that before. I speak from experience. And, thoroughly wipe your hands after misting before you pick up a finished project and get a nice inked thumbprint on it. Again, speaking from experience.
So, again, protect your work surface because if you don't...

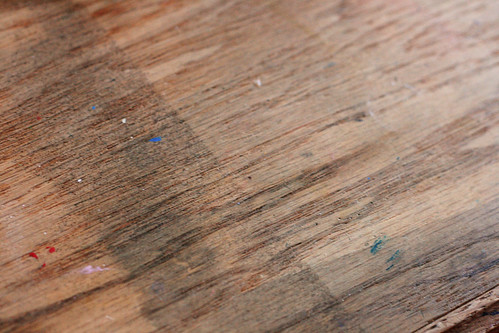
Spray On Desk

...your desk will end up like this. Nice. (I've decided to paint my work table white, so this doesn't bother me. Besides, it reminds me of my grandmother's table she always painted ceramics at. Well-used and well-loved.)
Begin by lightly misting the cream. Add a little at a time. You can always add more later, but you can never take away.

Adding Cream

Next, add some pink.

Adding Pink

Continue adding cream and pink until the look you are seeking is achieved.

Right Balance

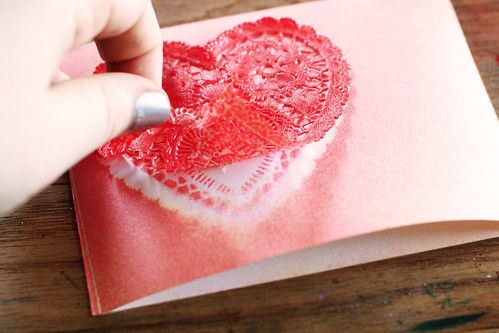
Wait until the mists are dry (which usually doesn't take long if you are using Maya Mists) and lift the doily to reveal the original color underneath.

Lifting Mask

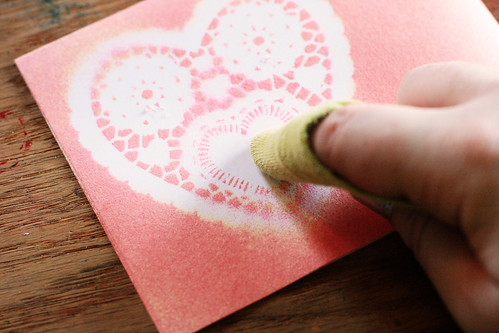
If any of the adhesive from the mask remains on the card, just use a clean cloth to wipe it away.

Cleaning Glue

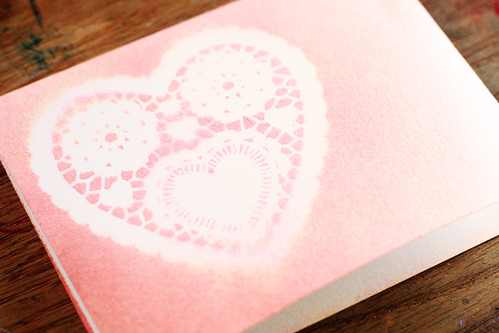
Now your card is ready to be embellished.

Ready To Embellish

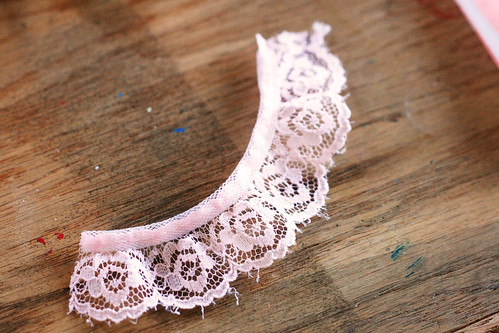
I wanted to add some ribbon but it wasn't the right color.

Pink Ribbon

No problem. I'll just mist it. (Warning...this stuff is so addictive.)

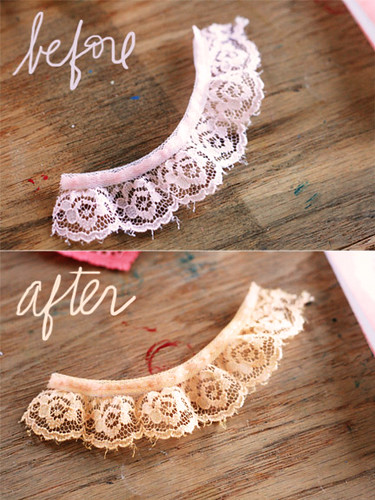
Before And After

Much better.
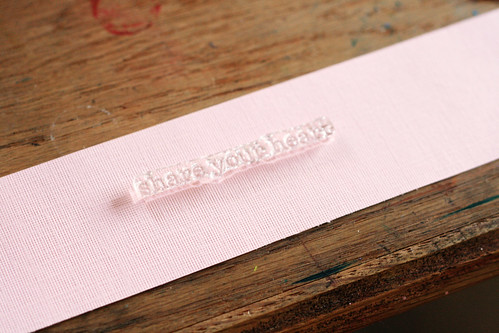
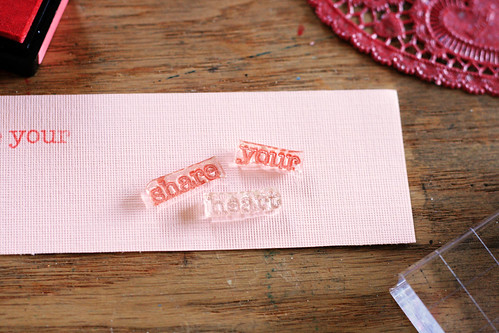
Now for some stamps. I wanted to use this stamp set from Hero Arts, but I wanted each word of the sentiment by itself.

Stamp

Stamp Broken

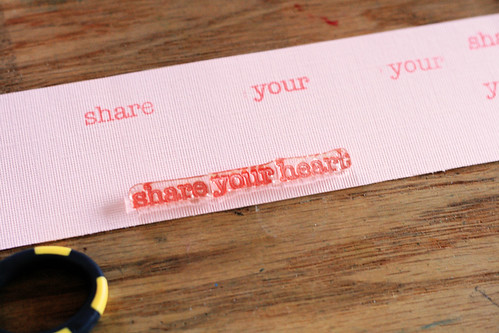
At first I never wanted to cut my stamps apart. But, they do actually fit back together nicely so you can use it as it was originally planned.

Stamp Straight

I hope you enjoyed this little tutorial. Have fun misting!

Card
Related Posts Plugin for WordPress, Blogger...