I've been having a lot of fun playing with mists lately. Yes, I realize I'm a little late jumping on the misting bandwagon. I've realized the error of my ways...mist on scrapbook pages and cards is absolutely gorgeous. It adds such an artistic look, like a painting. Misting is great for layering, too.
Here's a card I made using some Maya Mists and heart paper doilies.
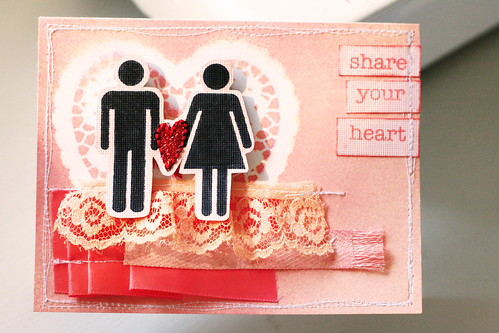
Notice the heart behind the couple? I made that using spray mists and a paper doily. I'll show you how.
First, you'll need to gather up some spray mists.
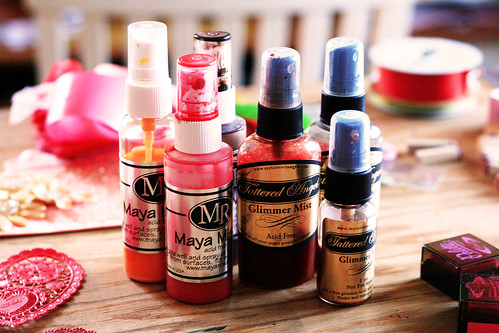
Spray mists are a combination of water and ink (usually with a little glimmer to it) that you can spray directly on cardstock, fabric, just about anything. You can also use masks (both pre-made or homemade) to protect part of the cardstock so that it remains the original color. All sorts of things can be used for masks...die cuts, chipboard letters, stickers...the possibilities are endless.
There are several manufacturers of mists. Tattered Angels makes glimmer mists. I find that these tend to take a little longer to dry and achieve a splotchier look. Glimmer mists puddle easier to me. If you want a more splattered look, they work well for that. Glimmer mists also come in a wide array of colors and each has a little bit of "glimmer" or light sheen look to it. Photos do not really capture the beauty of the shimmer, so they are best seen in person.
Maya Road makes maya mists. I find that these create a more even coverage. You can still achieve a splotchy look, but if you want full coverage these are great. They do not have as many colors, but I still enjoy them. I also like the shape of the bottle because it is easier to store. And, the cream mist is to-die-for! Love love love it. It looks orange in the bottle, but it really comes out such a beautiful cream color.
Adirondack also makes a mist spray called a color wash. I have never used these because they are not readily available from the places I shop at the most. I like to save up my money and buy several supplies at once so I can get percentages off or free shipping, so I usually shop at only a couple of online retailers or local stores. I've heard a lot of artists rave over this, plus it is something Tim Holtz uses...so I'm sure it works great. I've heard that the saturation and color is amazing. Again, this isn't a first-hand experience.
For this tutorial I am using Maya Mists in pink and cream.
I found some heart paper doilies while perusing the Valentine's section at Wal-Mart. I picked them up for next to nothing. Doilies are a hot trend in scrapbooking right now, and I thought that these would be perfect for some Valentine cards I'm making.
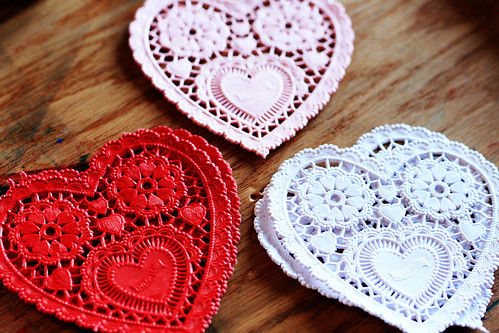
I picked up red, pink, and white doilies.
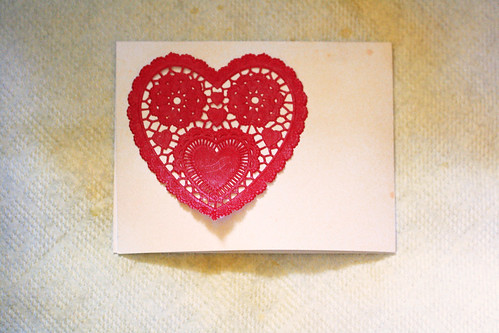
The next step is to place a doily on a card. It doesn't matter the color because the doily will be used as a mask and will be removed later.
You can place the doily on the card, but I like to be sure it won't move around during the misting process. So I add just a touch of adhesive. Repositional adhesive is best for this, but I don't have any so I use permanent. I use it lightly and find that it comes off easily.


Before you start going crazy with mist, be forewarned. This stuff will get everywhere. Everywhere. Be sure to protect your surface. Ranger Industries has a great craft mat and Tattered Angels has a larger one. However, I tend to have a lot of stuff out on my work table (and yes, I have ruined already made cards by accidently "misting" them as well) so I've found that using a cardboard box works great. I use one that my Studio Calico kit came in. It's the perfect size because it can fit a 12x12 layout on it.
I also get some of the spray on my hands, so I never mist while wearing nice clothes. I'm usually wearing my painting clothes because if not I will touch my shirt with my hands and ruin it. Yes, I've done that before. I speak from experience. And, thoroughly wipe your hands after misting before you pick up a finished project and get a nice inked thumbprint on it. Again, speaking from experience.
So, again, protect your work surface because if you don't...

...your desk will end up like this. Nice. (I've decided to paint my work table white, so this doesn't bother me. Besides, it reminds me of my grandmother's table she always painted ceramics at. Well-used and well-loved.)
Begin by lightly misting the cream. Add a little at a time. You can always add more later, but you can never take away.
Next, add some pink.

Continue adding cream and pink until the look you are seeking is achieved.

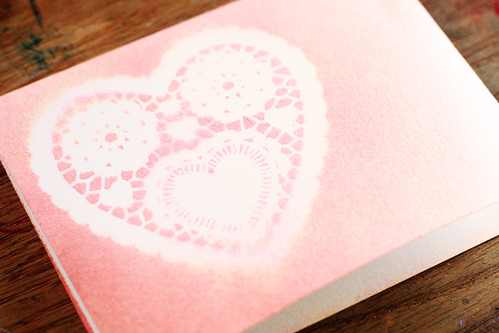
Wait until the mists are dry (which usually doesn't take long if you are using Maya Mists) and lift the doily to reveal the original color underneath.
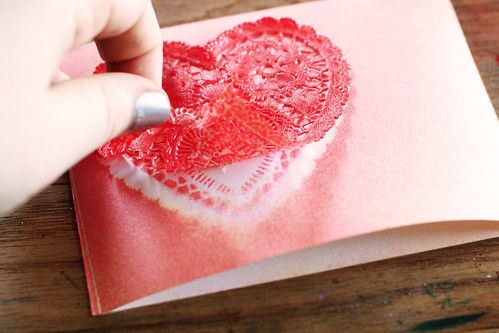
If any of the adhesive from the mask remains on the card, just use a clean cloth to wipe it away.

Now your card is ready to be embellished.
I wanted to add some ribbon but it wasn't the right color.

No problem. I'll just mist it. (Warning...this stuff is so addictive.)
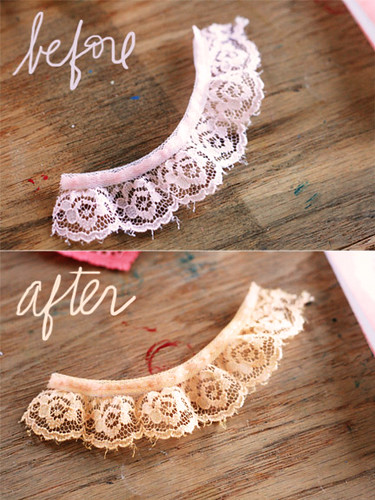
Much better.
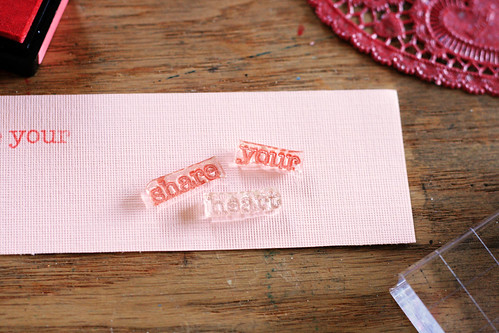
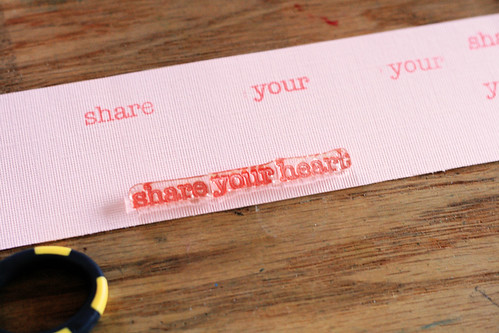
Now for some stamps. I wanted to use this stamp set from Hero Arts, but I wanted each word of the sentiment by itself.


Wow! What a fun technique! I'll have to try that out - I'll be even later than you in jumping in the bandwagon! ;) The card is absolutely beautiful! My only question; where did that little couple come from? Is it a stamp?
ReplyDeleteYes, the couple is actually two stamps. I picked them up from Hobby Lobby. They are from Stampabilities.Thanks for the compliment! Im so glad you enjoyed the tutorial.
ReplyDelete